

 See My Latest Article on HelloNation

Why Do Greeley, CO Residents Choose Laminate Flooring?
Laminate flooring is a popular choice for area households due to its affordability, durability, and adaptability to a range of home styles seen in the city. It can mimic the look of wood or stone, is relatively easy to maintain, and handles everyday wear from Colorado’s seasonal challenges like tracked-in grit or quick temperature shifts.
Besides appearances, laminate is appealing to local do-it-yourselfers because it features click-lock mechanisms and floating-floor installations, both designed with ease of assembly in mind.
How Do Local Conditions Affect Laminate Flooring Installation?
Greeley’s semi-arid climate, with cold winters and low humidity, may influence how laminate flooring responds during installation and afterwards. Laminate planks are sensitive to significant moisture changes, which can lead to expansion or contraction.
- Allow new planks to acclimate: Leave the unopened boxes in the installation room for at least 48 hours to adjust to the home’s environment. This prevents buckling or gapping later.
- Keep indoor humidity stable: Laminate tolerates household humidity ranges, but using a humidifier in winter or a dehumidifier during rainy spells may help limit shifting.
- Watch for basement or ground-level moisture: Homes with below-grade rooms may need a moisture barrier underlayment beneath laminate to protect against dampness from the ground.
What Tools and Materials Are Needed for DIY Laminate Flooring?
Completing this project with confidence means gathering all the necessary tools before starting. For most local installations, you’ll need:
- Measuring tape and pencil
- Pry bar and hammer (for removing baseboards or fixing stubborn pieces)
- Utility knife
- Laminate cutter, table saw, or jigsaw
- Spacers (to create a gap along the walls)
- Rubber mallet
- Pull bar (helpful near walls)
- Underlayment (unless attached to planks)
- Moisture barrier (especially for concrete subfloors)
- Safety goggles and dust mask
Most tools are available at local hardware stores; some can be rented to save on costs when only needed for this one project.
How Should Subfloors Be Prepared in the Community’s Homes?
A smooth, clean, and dry subfloor is critical for DIY success in the city’s varied housing stock. Before starting:
- Sweep and vacuum thoroughly to remove grit and debris.
- Fill low spots with floor-leveling compound (follow package instructions for drying time, especially in Greeley’s arid air).
- Be sure the surface is flat within 3/16 inch over a 10-foot span; high or low spots can lead to squeaks or gaps.
- If installing over concrete, make sure it’s fully cured and dry—tape a plastic square to the floor for 24 hours; moisture condensation is a sign a barrier is needed.
Some homes in the area have older vinyl or tile floors. These can often be left in place if they’re flat and securely fastened, but ensure any loose tiles or peeling vinyl are repaired or removed first.
What is the Easiest Way to Plan the Layout?
A thoughtful layout not only looks better but also minimizes waste. The floating design of laminate makes it flexible for most living areas, bedrooms, and basements across the city.
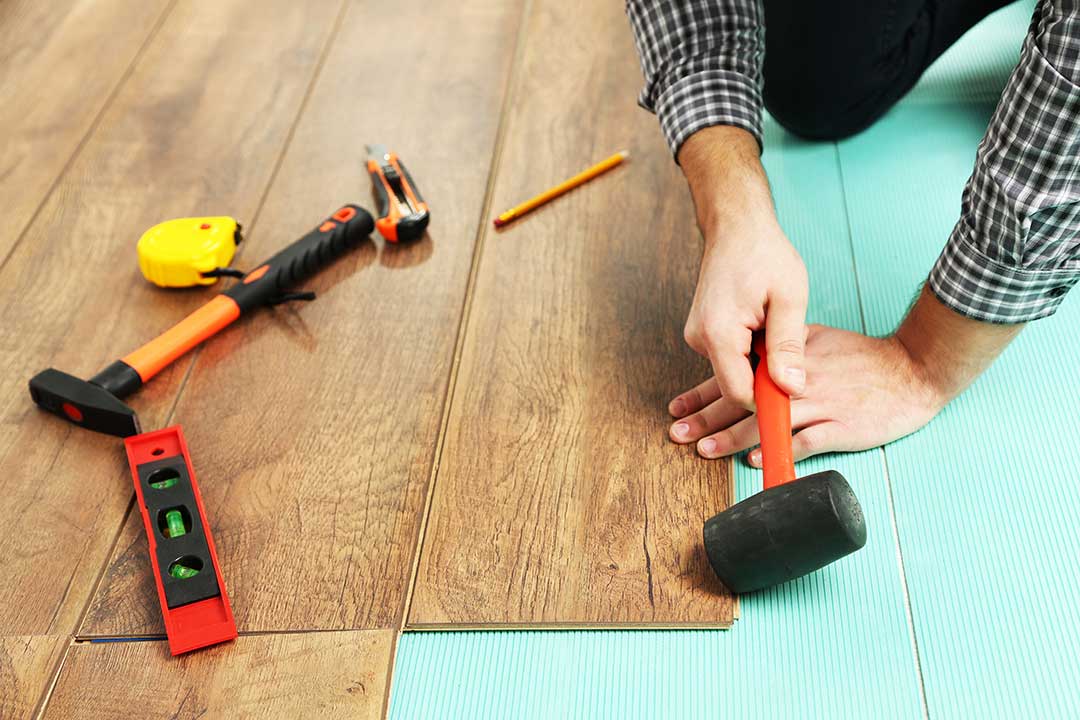
- Measure room dimensions and estimate plank direction—typically, planks look best running parallel to the main windows or longest wall.
- Calculate how much of a partial row will be needed at the room’s far wall. If it’s less than two inches wide, trim the first row accordingly to avoid a sliver at the end.
- Stagger the joints: Each row’s plank ends should be offset by at least 12 inches from the previous row for appearance and stability.
Sketching out a plan or laying a few planks in place before locking them together helps catch design choices that might look off in the room’s unique light or layout.
Step-by-Step: How Do You Install Laminate Flooring?
Starting with confidence saves time later. Here’s a typical approach suited for homes in the area:
1. Lay underlayment: Roll it out, covering the entire area, and tape seams as recommended by the manufacturer.
2. Place spacers along the walls: Maintain a 1/4-inch gap to allow for natural expansion and contraction.
3. Begin with the first row: Lay the first plank in a corner, working left to right. Interlock the next plank end-to-end, using the manufacturer’s system.
4. Cut to fit at the end of each row: Use scraps from cut ends to start the next row if they’re longer than 12 inches.
5. Continue rows: Snap planks together, tapping gently into place if needed. Check every few rows that the boards remain straight and the expansion gap is intact.
6. Fit around obstacles: Cut planks to fit around doorways, floor vents, or built-in features using careful measurements and a jigsaw.
7. Install the final row: Usually, this requires trimming planks lengthwise to fit. Use the pull bar for a tight fit.
8. Remove spacers and replace baseboards: Once the floor is complete, reinstall baseboards to cover the expansion gaps.
What Common Mistakes Should Be Avoided?
Even careful DIYers sometimes stumble on predictable issues, especially in older or remodeled homes.
- Skipping acclimation: Unpacking and installing planks too soon can lead to warping.
- Neglecting moisture protection: Omitting underlayment or a vapor barrier over concrete increases risk of swelling or mold.
- Forgetting expansion gaps: Placing boards tight against walls or cabinets prevents natural shifting and causes bubbling.
- Ignoring staggered joints: Lining up end seams looks unprofessional and weakens the floor’s stability.
If in doubt, double-check manufacturer instructions, which may differ slightly by product.
Are There Local Considerations for Waste Disposal?
Laminate off-cuts and old flooring material should be disposed of responsibly. Local residents can drop off construction waste—including old flooring—at city-approved recycling or landfill sites. Avoid putting substantial debris in regular household trash, as this may not be collected.
Can the Average Resident Handle This Project Alone?
Many area households find that installing laminate flooring is manageable for those with basic DIY skills and a careful attitude. It’s a project that can be tackled in a weekend for one or two average-sized rooms. However, moving heavy furniture, large-scale demolition, or working around complex layouts may call for extra sets of hands.
Residents are encouraged to take their time and prioritize safety—especially when using power tools or working in unusual layouts typical of some homes in the community. If new to home improvements, starting in a smaller or low-traffic room can help build confidence before tackling larger spaces.